

Conservation, Restoration, and Life in a 15th Century Wealden Hall House
SmartWell Manor - Plans and Possibilities
Good Morning!
Today will be our last instalment charting our first year of being the very proud custodians of SmartWell Manor. In our first three instalments, we covered our first few weeks and months in our new dream home, the delights of a year in our beautiful gardens, and the celebrations of a few milestones; so if you missed these instalments, why not take a look at the related posts at the bottom of the page.
Today we will delve into one or two of our plans for the coming year. Firstly, we will take a look at my plans for one area of the garden and introduce you to our plans for my dream studio, before finally, we will finish things off with a brief overview of some plans and potential changes to the ground floor of SmartWell Manor.
So let’s kick things off by heading back into the SmartWell gardens. As we saw in our last post, we are extremely fortunate to have inherited such a mature outdoor space. We have so many lovely features and over this past year we have spent a lot of time working out how best to enjoy the gardens to the fullest. (It was a tough job, but someone had to do it!)
In early April, I spent a day creating a sun map of the front, side and back gardens, which I will repeat again at midsummer (19th-25th June). This will enable us to better work out our planting strategy, when we come to redesign the gardens and it was a good excuse to do something artsy and fun! It’s a really simple process if you fancy digging out some crayons or felt tips, and getting creative. Here’s how I went about it, if you want to give it a go yourself.
Make your garden plan: create a basic plan of your outdoor space, adding in any buildings, trees, fencing etc. (anything that is structural or will cast a shadow).
Work out your timings: next work out your time intervals; I went for every hour from 7am through to 6pm, as i wanted to be super accurate, but if you’re just looking for a rough guide, every 2 or even 3 hours would probably be fine.
Get your tools ready: get ready for your mapping day. There are two ways you can make you maps; either create several copies of your plan and mark up a different one for each time interval, using the same colour (e.g yellow for the sun!), or use one plan and a different colour for each time interval. I went with one colour and lots of plans, but whichever method you choose, make sure you have everything you need ready.
Rise and shine, and get mapping: Using the one colour method, and starting at 7am, I wandered around the garden marking out all the shadow lines, then I colour blocked the areas of sunlight. I repeated this same process every hour until the sun was almost down.
*It kinda goes without saying, but you need to pick a sunny day for this to work!
Here’s some of the original maps for the side section of our garden (as our garden is quite large, I found it easier to draw it up in sections).

In early April, this area was only catching the sun early in the day; by midday the vast majority of the space was in shade from the house. Therefore, I initially started to think about more shade loving plants; however, now we are approaching midsummer and the sun is much higher in the sky, this pattern has changed quite dramatically. The area is now staying in full sun for much more of the day, so it’s definitely worth doing this exercise at both times of year, to get the best results.
This area of our garden has been laid with tarmac, formerly being used as a driveway, and at the moment used as the ‘current’, (probably final!) resting place for John’s car (our most recent garden ornament!). However, as we have a huge drive out front (and the old garage, will soon be my studio), my goal for the coming years, is to turn this area into a medieval style cottage garden. A space more in keeping with our beautiful jettied gable-end; think herbs and medicinal (or physic) plants and flowers, raised beds edged in woven willow and hazel, a chessboard style layout for ground beds, and planting between paving. I say ‘the coming years’, as these plans will likely also coincide with the rather extensive conservation and restoration work we will, in the ‘medium-term’, need to do to our jettied elevation.

Also on the agenda for this year (however, unfortunately the build phase will likely be next year now due to the ongoing global pandemic), is the creation of my art and conservation studio! As you’ll have already seen in earlier posts, I am currently working out of one of the bedrooms. With plans and commissions for much larger paintings and my itch to get my hands back into some clay; a purpose built studio was always on the cards. Having a suitable place to work from home was one of my main goals when we made the decision to start looking to move out to the countryside.
Ladies and gentlemen, I give you the ‘cart shed’, I use inverted commas here, as it is not strictly speaking a cart shed.
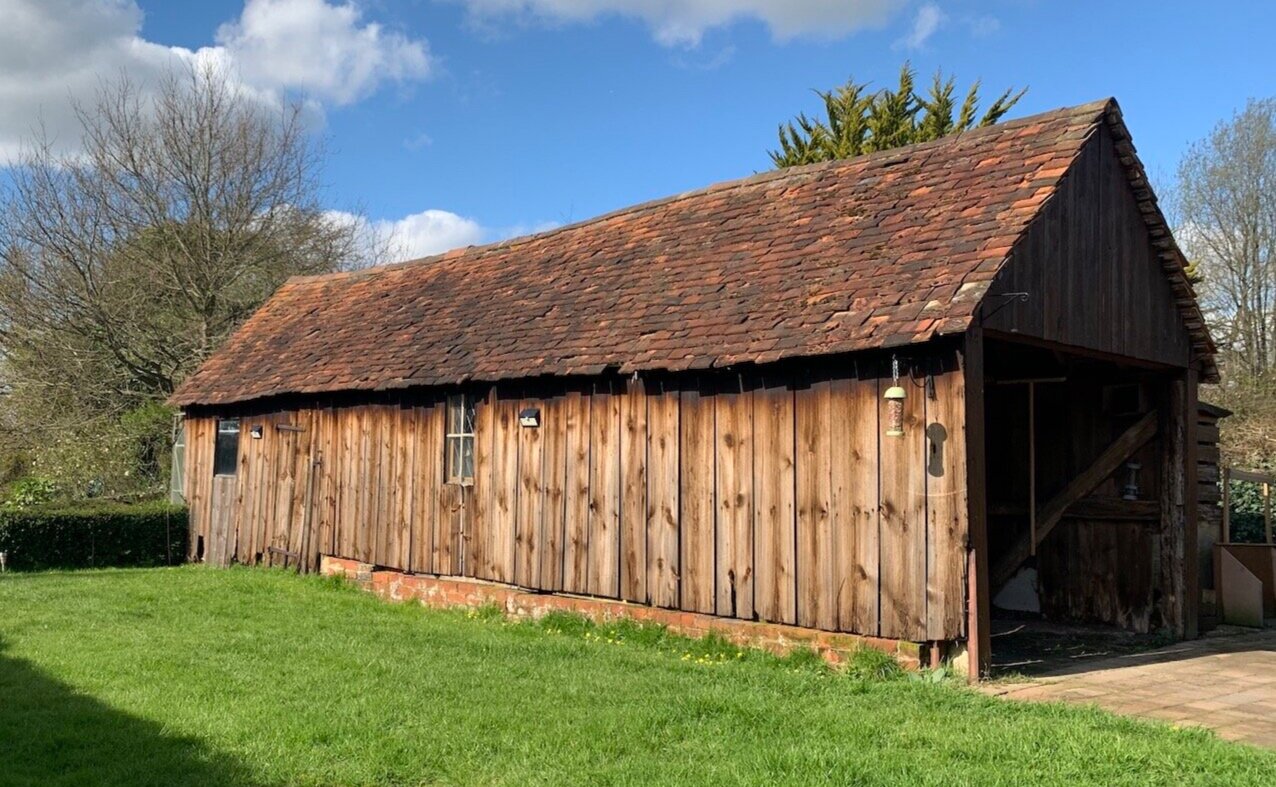
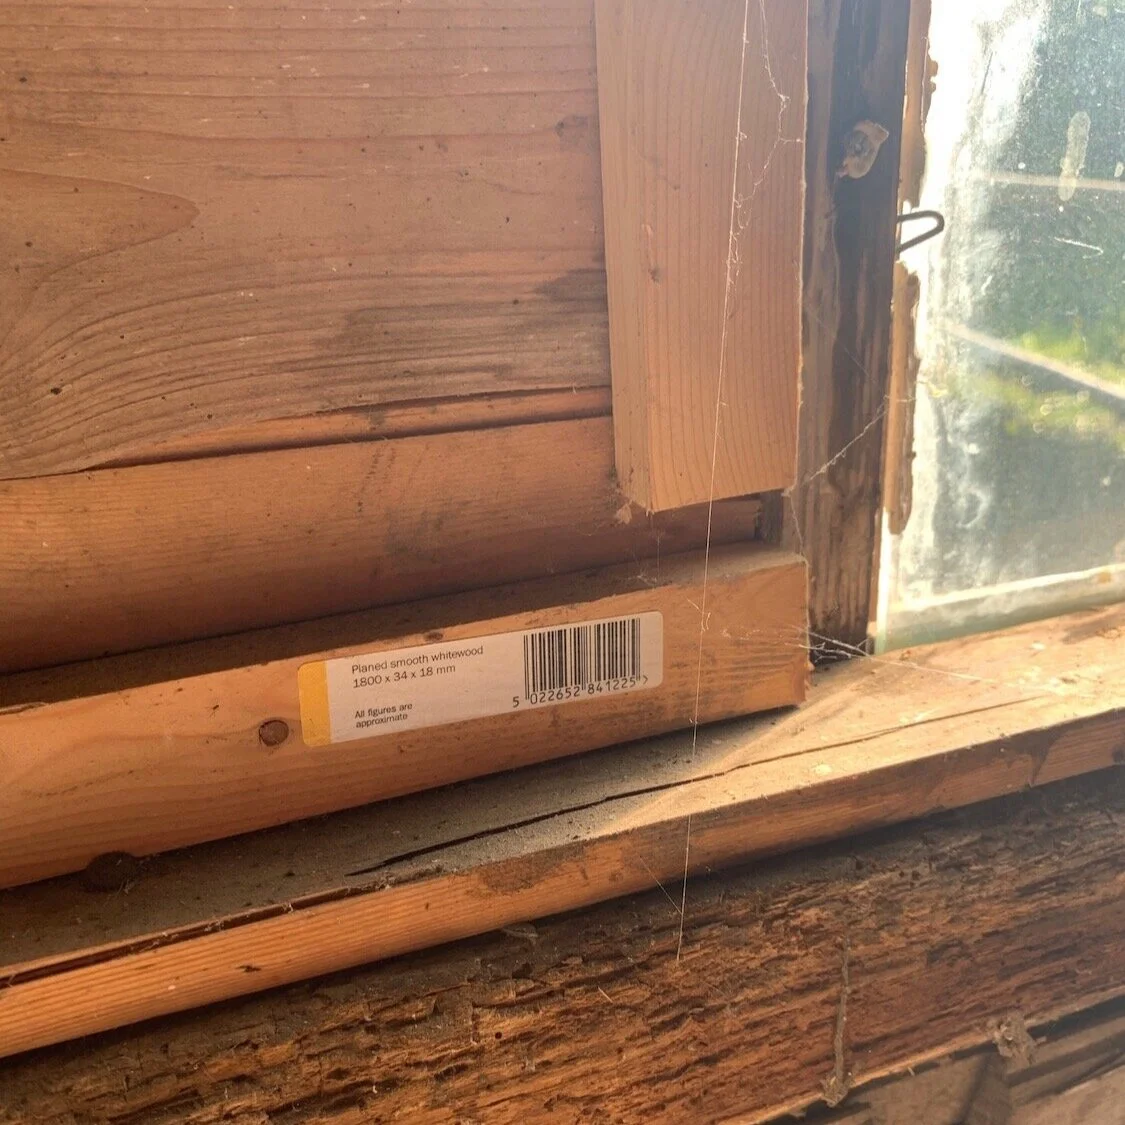
After a little bit of digging (more on this in later posts), it appears that the structure was most likely erected on the site sometime between the 1930s-60s (for those of you that know about the 1948 Listed Building Curtilage Law, this is a tricky date range indeed!). It was constructed using reclaimed timbers from, what would have most likely been, a cart shed or similar outbuilding, and then used as a garage and garden store. Over the years there have been some interesting additions, not least a large amount of tong-and-groove c2000s. (The amazingly preserved evidence of this period, known to some as the ‘naughties’ was identified by a highly specific analytical technique; visually inspecting the DIY store price stickers still attached!)

Although we are still in the early stages of ‘genuine’ research into the outbuilding, it is highly likely that due to the high percentage of modern material interventions and structural instability, it will not be deemed to be of any significant historic interest in it’s current incarnation. As such, while we are keen to reuse as much of the original materials as we can, the studio will most likely be a new building, oak framed, with the reuse of the Kent-peg tiles at the very least.
*Look out for upcoming posts, where we will chart our journey through the whole process of creating my new dream studio. I will offer guidance on the initial pre-application and planning stages, heritage impact statements and things to consider, such as bat surveys, procurement of materials and services, project and site management, right through to project completion.
And finally to round up our introduction to SmartWell Manor and our first year in our dream home, a little insight into some of our other plans for the coming year (lockdown and pandemic willing of course!).
In terms of the house itself, we will be undertaking some maintenance to the externals, both general annual maintenance and planning for some more extensive work to, where possible, replace the cementitious mortars and renders applied over the years. (Whilst cement was once, and in many circumstances still is, considered a wonder material, for historic buildings in particular, it is highly inappropriate and can prove devastatingly detrimental to the overall structure of a building.) We will also begin to plan for some changes to the ground floor, repurposing the current downstairs family bathroom into a boot room, laundry and small downstairs cloakroom (WC) (and as such returning it more towards it’s original function as a kitchen), and starting work to restore our dining room to its former glory.
We have our work cut out for us here at SmartWell, but we hope you will join us on our conservation and restoration journey, as we conserve, preserve, and restore our lovely little, medieval hall house home (try saying that after one too many flagons of mead!).
Thanks for reading and take care


